Snowboard gear from board to boots
A snowboard is a 4-foot to 6-foot board you strap both feet to and ride down a snow-covered slope, and a complete snowboard kit pairs that board with bindings, boots, and the protective and warm layers that keep you riding from first snow to last. The Peakline catalog covers the full stack: 14 board models across 9 length sizes, 6 binding systems, 11 boot last widths, plus the jackets, bibs, gloves and backpacks that finish the outfit before you hit the lift line.
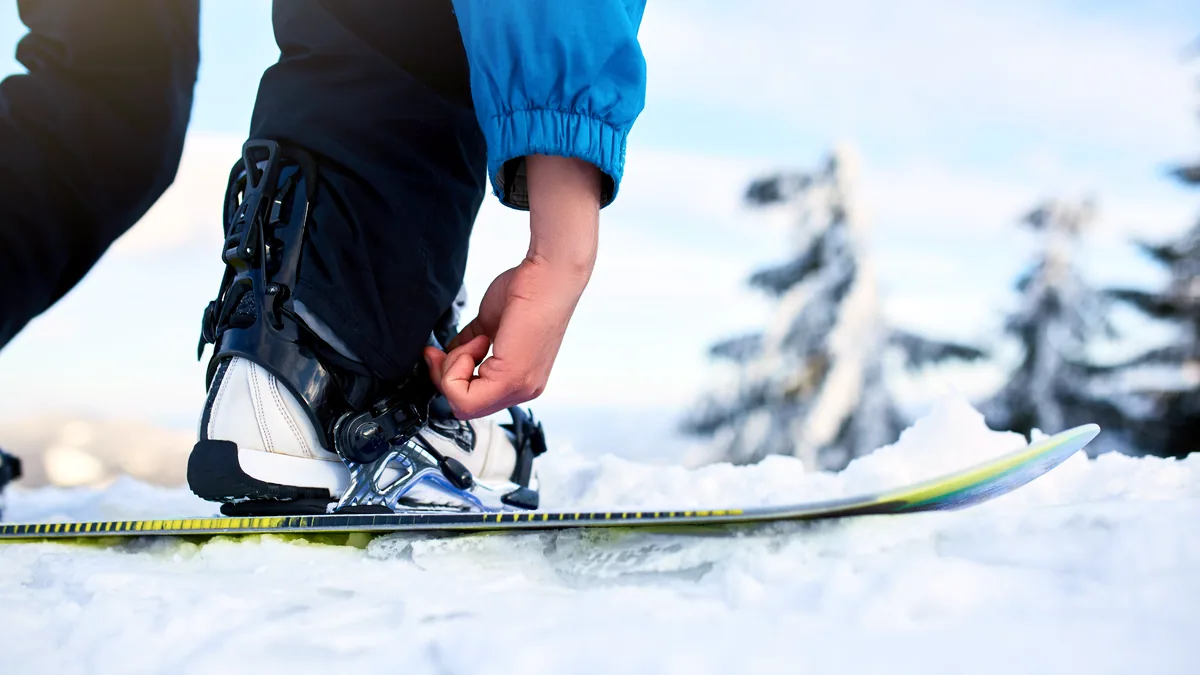
Start with the board itself, then work outward. Pick a snowboard jacket that matches the terrain you ride, Choose snowboard boots that fit your foot last before you commit to bindings, and consult the Snowboard buying guide before you compare prices, because a board that is 5 cm too long for your weight will fight you on every edge and a binding that is 2 sizes too stiff will make your knees ache by the third run.
Choosing the right snowboard length
Choosing the right snowboard length starts with your weight and your riding style, and the number that matters most is the board's effective length measured in centimetres between the two binding mounting zones. The standard rule from the ISO 11088 snowboard sizing specification is simple: the board should reach somewhere between your chin and the top of your head when you stand it upright on its tail. A rider weighing 60 kg (132 lb) on an all-mountain board lands at roughly 150 cm, a rider at 85 kg (187 lb) at roughly 158 cm, and a rider at 110 kg (242 lb) at roughly 166 cm. All-mountain boards such as the Capita Strive or the Burton Custom run true to that range, while a freestyle board like the Nitro Litchi trims 2 cm shorter for the park and a directional powder board like the K2 Mindbender adds 3 cm for float. If you split your season 60 percent all-mountain and 40 percent in the park, size to the all-mountain number and accept the 2 cm compromise rather than splitting the difference.
Picking snowboard bindings that match your board
Picking snowboard bindings that match your board comes down to 3 variables: flex, strap width, and the disc mounting system. Flex is rated from 1 (soft, forgiving, park-focused) to 10 (stiff, responsive, race or big-mountain). A beginner at 55 kg (121 lb) should start at a 3 or 4 flex binding such as the Burton Freestyle 2026 or the Salomon Shift, because a stiff binding on a light rider locks the ankle and hides the feedback you need to learn edge pressure. The binding disc must accept your board's mounting pattern: 4x4 (4 holes at 10 cm spacing), 2x4 (a hybrid that accepts 4x4, 6x4 and channel boards), or the Burton Channel, which uses a continuous groove and a dedicated baseplate. A 2x4 disc on a 4x4 board gives you 4 cm of fore-aft adjustment, enough to dial in a setback for a directional stance or a centred stance for the park. The highback angle, set between 0 and 22 degrees, is the second dial: 15 to 17 degrees suits most all-mountain riders, while freeride and big-mountain setups push to 20 or 22 degrees for a more locked-in forward lean.
Sizing snowboard boots to your foot
Sizing snowboard boots to your foot is the step most first-time buyers skip, and it is the one that causes the most returns on the marketplace. A snowboard boot is a different last from a ski boot: it runs about half a size larger to accommodate a thicker liner, and the width at the ball of the foot is measured in millimetres across 4 standard lasts. A 98 mm last is narrow (think a women's size 6 in a 98 mm boot), a 102 mm last is medium, a 106 mm last is wide, and a 110 mm last is extra-wide for feet that simply need the room. The fit test is concrete: stand in the boot with the laces fully tightened, flex forward until your shins press the tongue, and your toes should just touch the front liner. If the toes bend at the joint, the boot is 1 size too small. If there is a 2 cm gap behind the heel, the boot is too large and your foot will slide during a fall. Try boots on at the end of the day when your feet are at their largest, and wear the thin merino sock you will actually ride in, not a thick winter sock. A boot that fits at 3 pm on a Saturday will fit at 10 am on a Sunday, and that is the fit you will keep for the 3 or 4 seasons a quality boot lasts.
Building the full kit layer by layer
Building the full kit layer by layer means treating the snowboard as the base and adding every layer outward until the jacket and the backpack close the loop. The 5 core layers, in the order they sit on your body, are:
- Base layer: a merino wool or synthetic long-sleeve top and bottom wicking moisture from the skin, sized to the body, not the boot
- Insulating mid layer: a fleece or light down vest adding 3 to 5 thermal clo units for cold-weather days below 0 degrees Celsius
- Outer shell: the snowboard jacket and snowboard bib or snowboard pants, waterproof at a minimum 10 000 mm hydrostatic head with 10 000 g/m2/24 h breathability, with reinforced knees and a helmet-compatible hood
- Hand and eye protection: 2 mm neoprene or leather-backed gloves, and 2 pairs of snow glasses (a dark VLT 43 percent lens for flat light, a light VLT 12 percent lens for powder and overcast)
- Carry layer: a 25 to 30 litre snowboard backpack with a top-loading board carry, a 1-litre hydration sleeve, and a helmet pocket
The jacket and the bib are the 2 items where a mid-range budget and a top-end budget differ the least. A 300 pound jacket with 20 000 mm waterproofing, taped seams, and 2 chest pockets will keep you dry on a 40-hour season just as reliably as an 800 pound shell, because the membrane technology has been stable since the 2010s. The bib matters more on the mountain than the jacket for most riders, because a wet crotch and damp thighs end a session faster than a damp collar. If you ride in the UK, the 5-layer kit above is the right depth: the 2025/2026 season in the Scottish Highlands and the Peak District averages 8 to 12 weeks of reliable snow, and the 3-layer minimum will leave you cold by February.
Buying snowboard gear in the UK: timing, budget and where to save
Buying snowboard gear in the UK follows a 3-window price calendar that mirrors the snow season. The pre-season window runs from September through October, when 2026/2027 boards and bindings hit the UK marketplace and carry the full retail price: a mid-range all-mountain board sits at 450 to 600 pounds, a 4-flex binding pair at 200 to 300 pounds, and a boot pair at 250 to 400 pounds. The in-season window, November through January, holds prices steady but moves 2025/2026 stock into 10 to 20 percent discount brackets as shops clear the floor before the 2027 range arrives. The post-season window, February through April, is where the snowboard gear sale lives: 2025/2026 boards drop 30 to 50 percent off, bindings 25 to 40 percent, and boots 20 to 35 percent, and a full 4-piece kit (board, bindings, boots, and a jacket) that cost 1 400 pounds at launch can land at 750 pounds in March. The 2 practical rules are: buy the board and bindings in the post-season window if you are patient, because the geometry does not change between a January and a March purchase, and buy the boots in the pre-season window so you can try 3 or 4 lasts in a shop and get the correct width before the sale sizes sell through. A 158 cm all-mountain board with a 4-flex binding package and a 106 mm medium boot, the typical beginner setup, costs 1 100 to 1 300 pounds new at full retail and 700 to 900 pounds in the post-season sale. Second-hand boards from a local UK shop or a trusted facebook group run 40 to 60 percent of the original price, and a board that is 2 seasons old and has ridden 30 hours or fewer is mechanically sound, because the popper and the core do not degrade until the 200-hour mark.
What to check before you ride
What to check before you ride is a 5-minute routine that protects the 4 components most likely to fail on the mountain. The snowboard base, inspected for wax and for cracks at the binding screws, takes 2 minutes: run your thumb along the base edge to edge, and any chip deeper than 3 mm into the sintered base should be filled with a cold-wax bar before you drop in. The bindings, checked for loose disc screws and a secure highback pivot, take 1 minute: a binding disc that has worked loose by 4 degrees will shift your stance and ruin the edge you just paid 500 pounds to learn. The boots, checked for a snug heel pocket and no broken laces, take 30 seconds. The jacket and bib, checked for a sealed zipper and no torn seam at the knee, take 30 seconds. The final 30 seconds go to the accessories that do not protect you from the snow but keep the day together: a 500 ml bottle in the backpack, a pair of 100 SPF lip balm, and the 2 pairs of snow glasses you packed for the light change at 11 am. Do this once at the base before the first run and once at the midday lift, and the gear that cost 1 000 pounds will still be the gear that cost 1 000 pounds at the end of the season, not the gear that needs a 400 pound repair in April.